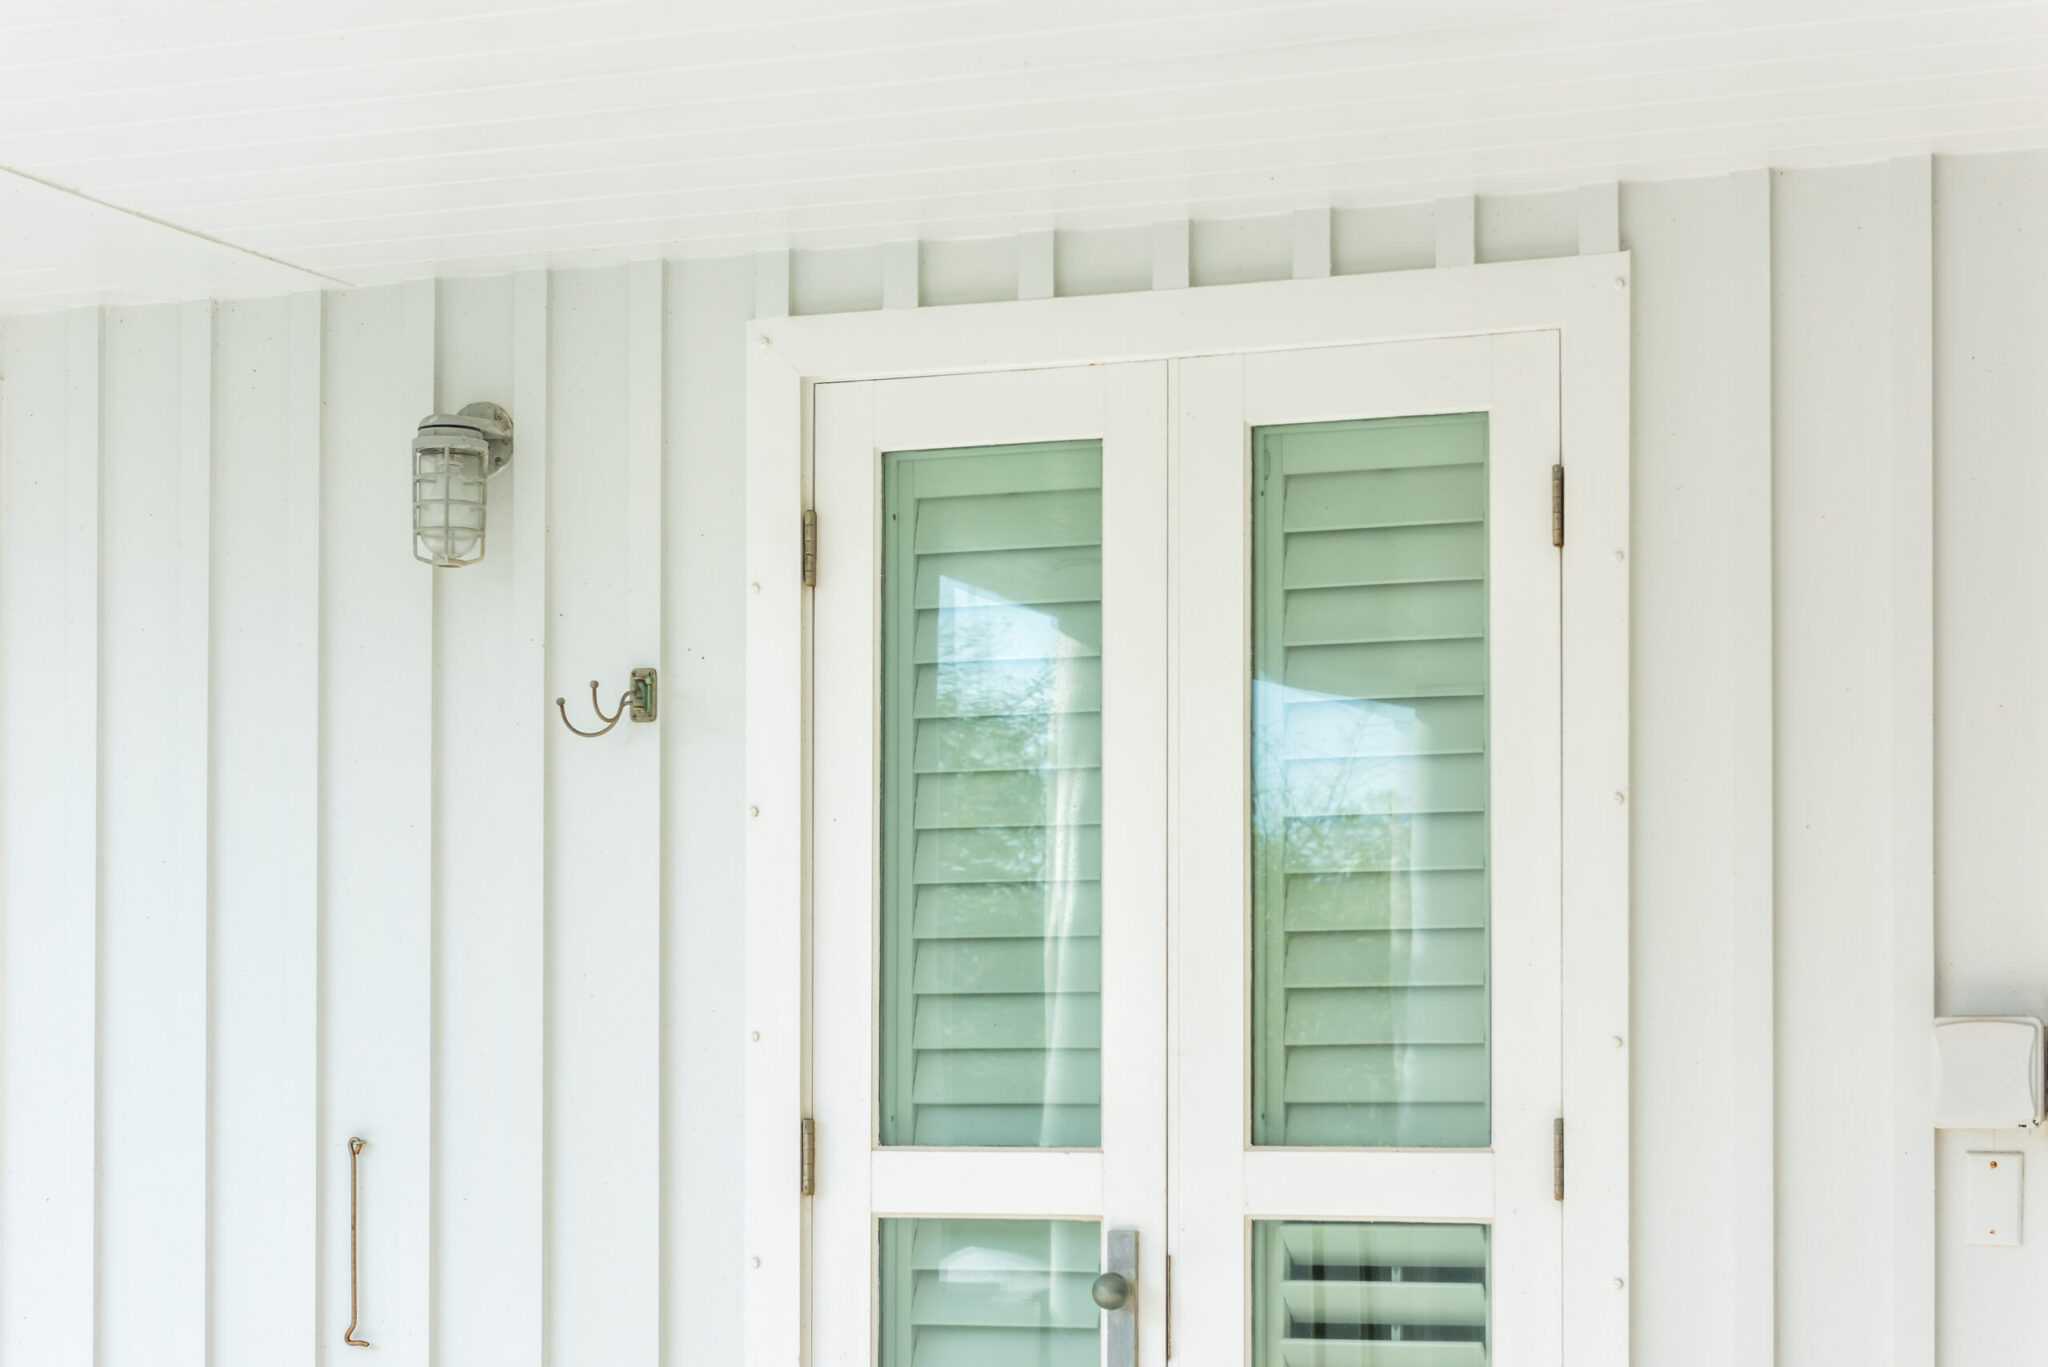
A Guide to Installing Hurricane Windows
Hurricane windows are an important part of protecting your home from the potential damages caused by severe weather. Installing hurricane windows can help to protect your home from the strong winds and flying debris that can accompany hurricanes. This guide will provide an overview of the benefits of installing hurricane windows and the steps required to properly install them.
Advantages of installing hurricane windows
Installing hurricane windows can provide a number of important advantages. These include:
- Protection from flying debris: Hurricane windows are designed to protect your home from flying debris during a storm. They are made from impact-resistant glass and are designed to withstand wind speeds of up to 200 mph.
- Reduced energy costs: Installing hurricane windows can help to reduce your energy costs. The impact-resistant glass helps to keep your home cooler in the summer and warmer in the winter, reducing the amount of energy used to cool and heat your home.
- Noise reduction: The impact-resistant glass helps to reduce noise from outside your home, making it more comfortable inside.
- Increased security: The impact-resistant glass of hurricane windows makes it more difficult to break into your home, increasing the security of your property.
Steps for Installing Hurricane Windows
Hiring the right contractor to install your hurricane windows is essential. To keep you informed, this is what you should be aware of whenit comes to the installation process.
1. Measure your windows
The first step is to measure the size of your windows. Measure the width and height of each window and make sure to measure from the inside of the window frame. This will help determine the size of the hurricane windows you will need to purchase.
2. Choose the Right Hurricane Windows
Once the window company has measured your windows, you will need to choose the right hurricane windows for your home. There are several different types of hurricane windows available, so make sure to choose the one that best suits your needs. It is also important to make sure that the windows you choose meet local building codes and are rated for the wind speeds in your area.
3. Prepare the Windows
Before your hurricane windows can be installed, prepare the area around the windows. This involves removing any old window frames, caulking and making sure the area is free from debris. They may need to apply a layer of foam insulation to the wall to ensure a better seal.
4. Install the Hurricane Windows
Once they have prepared the area, the window company will be ready to install your hurricane windows. This involves attaching the windows to the window frame, making sure all of the screws are tightened and that the window is properly sealed. Additional weatherstripping may need to be installed to ensure a better seal.
5. Test the Windows
After the hurricane windows have been installed, it is important to test them to make sure they are properly installed. You can do this by opening and closing the windows and making sure they are airtight. You should also check for any signs of water leakage or air infiltration.
Conclusion
Installing hurricane windows is a great way to protect your home from the potential damage of severe weather. This guide has provided an overview of the benefits of installing hurricane windows and the steps required to properly install them. By following these steps, you can ensure that your home is safe and secure from the potential damages caused by hurricanes.